The following are the detailed steps with pictures and texts:
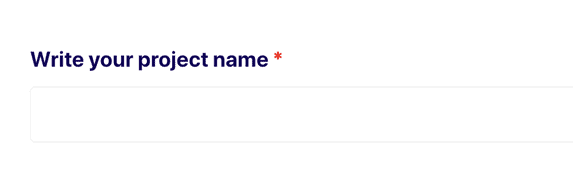
1. The title of the project: Enter the title you have chosen.
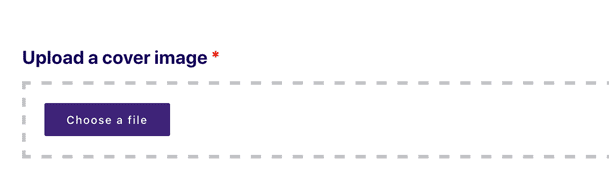
2. Add a cover image: upload a photo of the finished product to represent your project.
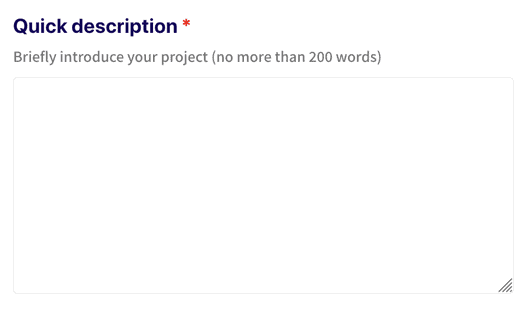
Project introduction: Briefly introduce your project in no more than 200 words. Here you can explain your design philosophy and the principles used.
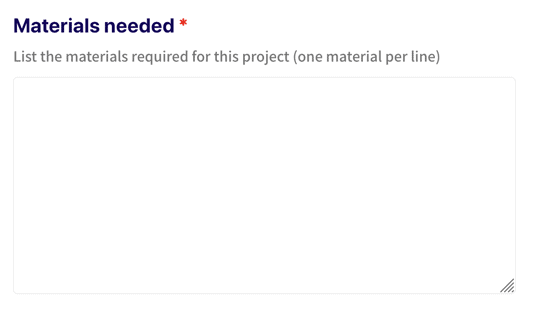
4. Material list: list the materials and tools used in this project, and write down the quantity.
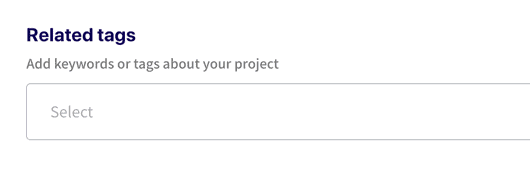
5. Fill in keywords or tags related to your project; press "plus" to add your own tags.
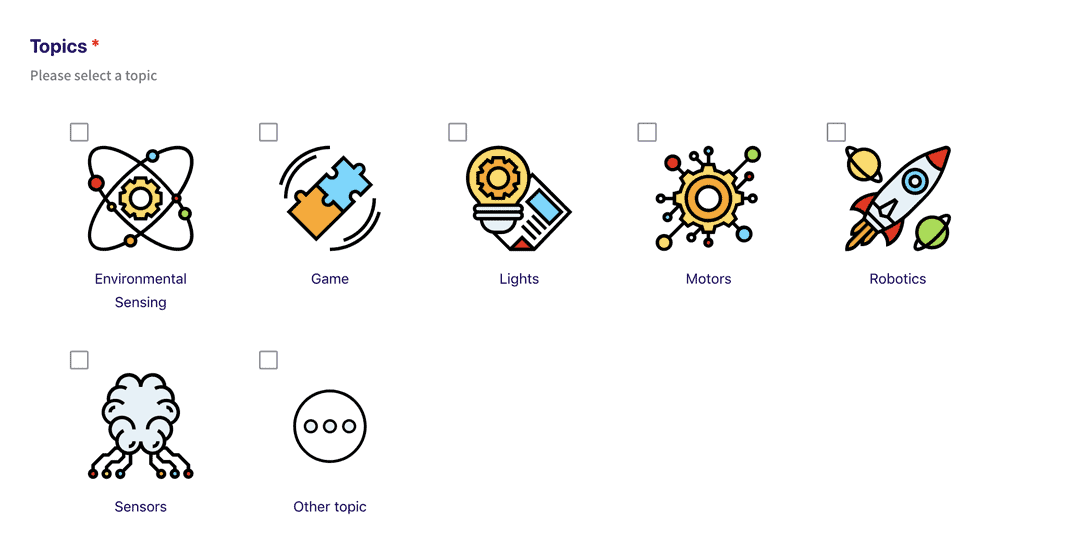
6. Select the topic of the project: What is the topic of the project? If there is no suitable topic, you can choose "Other".
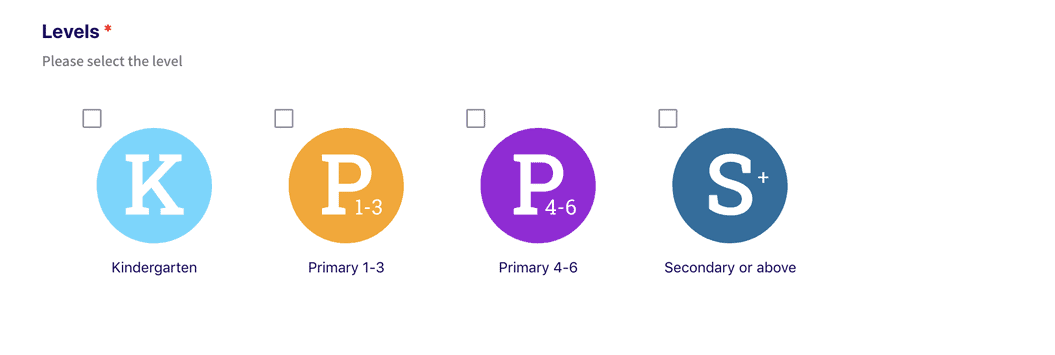
7. Difficulty in making the project: Who is your project suitable for?
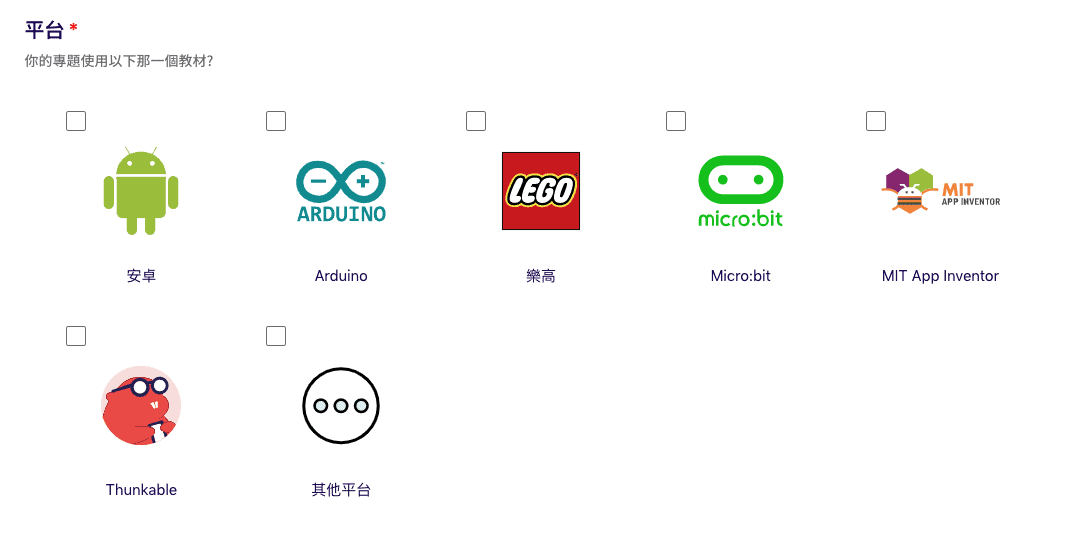
8. Choose a platform: Which STEM platform did you use for your project? If you don't have a suitable platform, you can choose "Other".
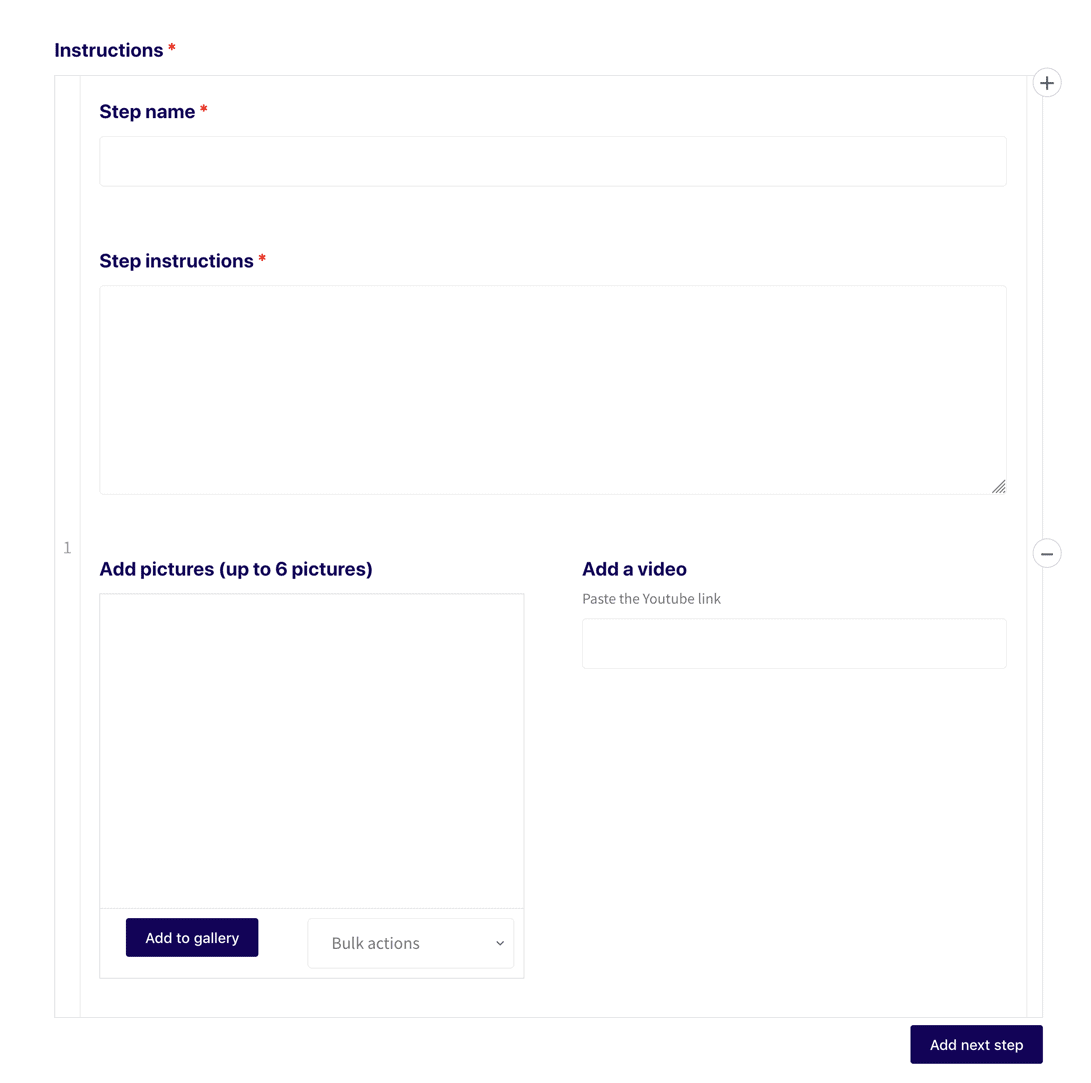
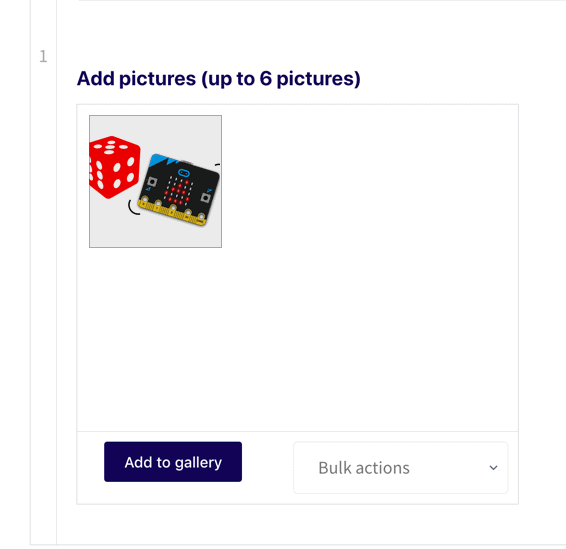
9. Adding instructions steps: According to the steps on the worksheet, enter text, pictures or movies, and add steps as needed.
(If you need work paper assistance,Click here to download) Note: When adding a step, you must press the "add step" button, don't press the "+" or "-" button.
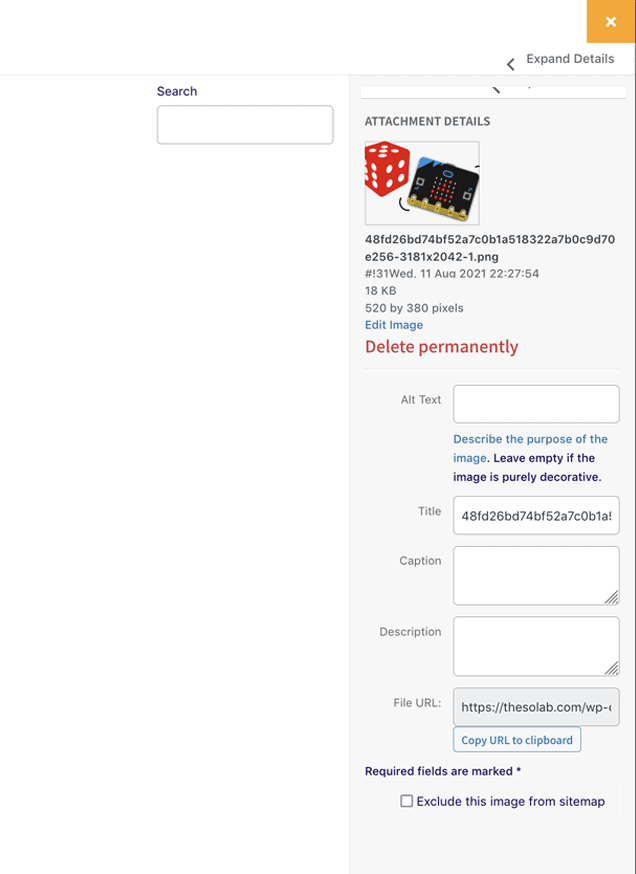
Note: The photo format must be jpg, jpeg, png and gif file to upload the picture successfully. Each step can upload up to 6 pictures. After uploading a picture, click "Select" at the bottom right of the screen to add a picture.
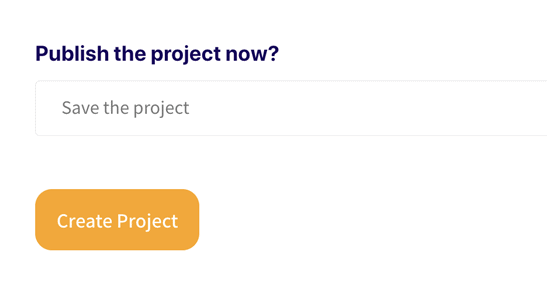
10. After completing all the above steps, press "Submit Topic" to publish. If you fail to complete all the steps, you can first click "Save temporarily" and the filled information will be saved for you. At this moment, you can edit your content at any time, and then edit the topic status after all the information is filled in.